We would like to thank our business partner Ben Hanan, Business Systems Analyst for providing the detailed descriptions for this blog.
Setting up access by Role simplifies the addition of new users, by associating the account with a Role.
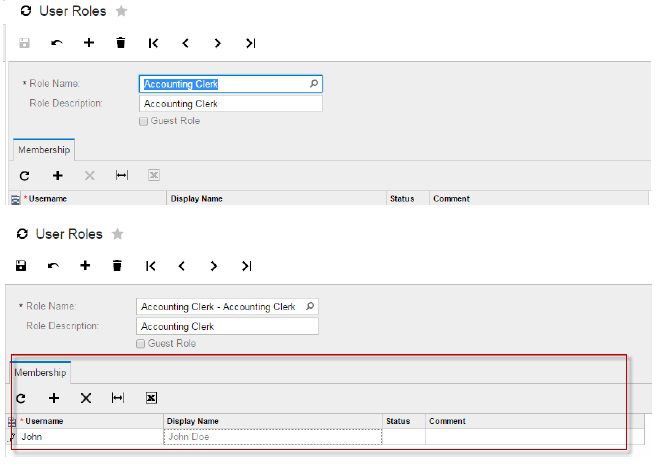
Example: Setting up a new Role: Accounting Clerk with access to Accounts receivable and General Ledger
Add a new Role by going to Configuration>User Roles>Add a Role
Then, go to:
Configuration >User Security>Access Rights by Role
Pick the Suite that you wish to set:
Revoking an Application will remove the entry from the user’s menu. Granting will allow further drill down.
Example: The Accounting Clerk Role was Granted access to Accounts Receivable. Drilling down to the Work Area, Processes, Reports, and Configuration it is possible to control access down to a process itself.
Setting up access by screen:
Select the process. You can control access to a user’s role at the process level
Default Access Right of a screen is “Inherited” It can be changed to “Revoked”, “Edit”, “View Only”
If you have questions please contact us at www.caserv.com or 760-618-1395. Please stay tuned for more helpful Accumatica Cloud ERP tips!


